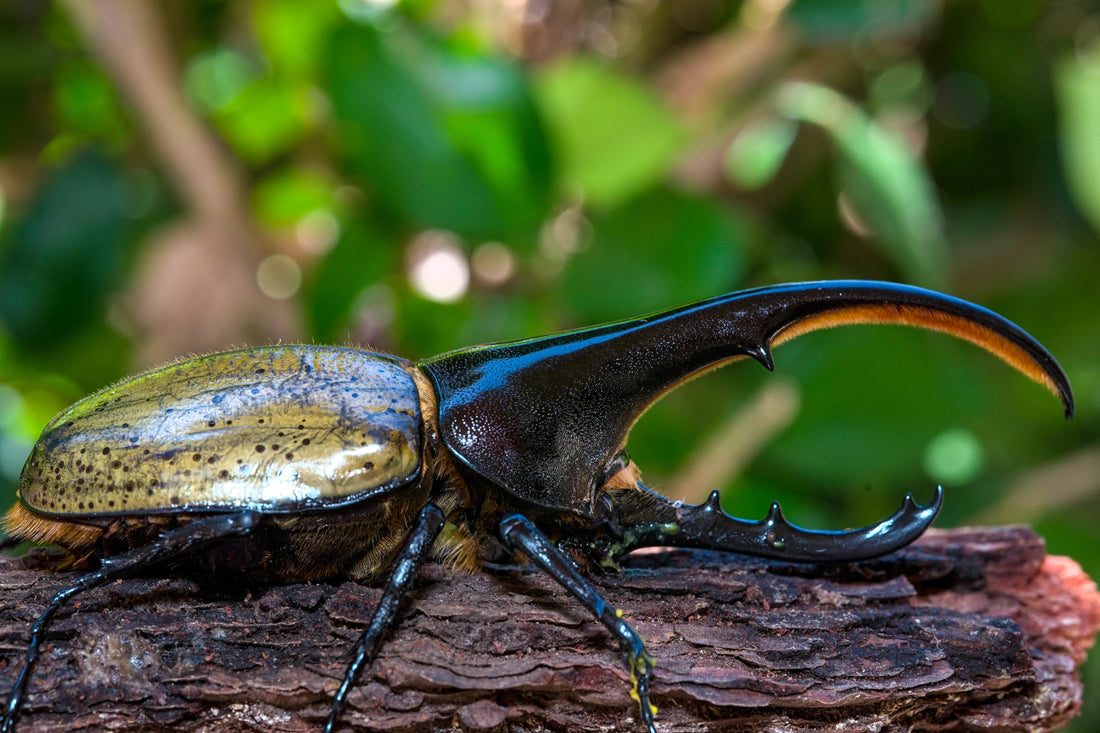
Dynastes Hercules care
Share
Adults:
- Size: 55-181mm
- Adult life span once active: 6-12 months
- Temperature: 70-78F
- Humidity: 70-80%
- Food: Beetle jelly or fruits(no ctirus)
Breeding:
- Required temperature for breeding: 70-77°F
- Minimum container size for egg laying:8 in x 4 in x 8 in. Bigger containers are always the better option for breeding!
- # of eggs laid on average: 30-80 eggs.
- Flake soil humidity adjustment: The amount of water is appropriate when you can form a ball by squeezing the flake soil with your hand. Water seeping out of your hands during the process indicates that there is too much water.
- Set-up: Pack the bottom 5cm of the container tightly and fill up the remaining space loosely with flake soil. Place objects such as sticks or barks at the top so that the beetle can flip itself over if needed. Lastly, don't forget to regularly change fruits or beetle jelly for the beetle to feed!
Set-up example:

Larvae:
- Food: Flake soil
- Temperature: 70-78°F
- Humidity: 60-70%
- Larval duration: 10-13 months for females. 12-20 months for males.
- Container size recommendations:
- L1: 4oz deli cup
- L2: 16oz deli cup
- Early L3: 32oz deli cup
- Mid L3:
- 4L container or any container 4x the size of the larva for males
- 2L container for females
- Late L3/pre-pupa/pupa: 10-20L container for males. Male larvae create pupal chambers that are 1.5 to 2 times their expected pupae size. You want enough space for the males to create their pupal chamber successfully. Failure to do so will cause their horns to bend.

How to distinguish a good vs a bad pupal chamber:
Hercules larvae don't always create perfect pupal chambers even if they have the space they need. Bad pupal chambers lead to bent horns, which is why you need to know how to distinguish between a good and a bad pupal chamber.
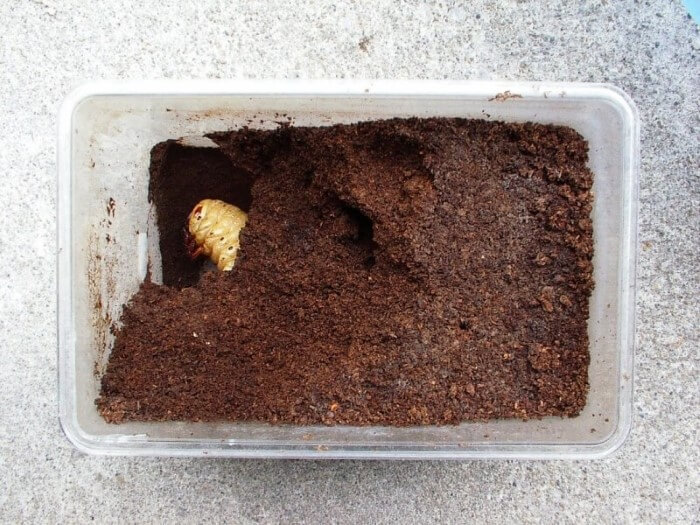
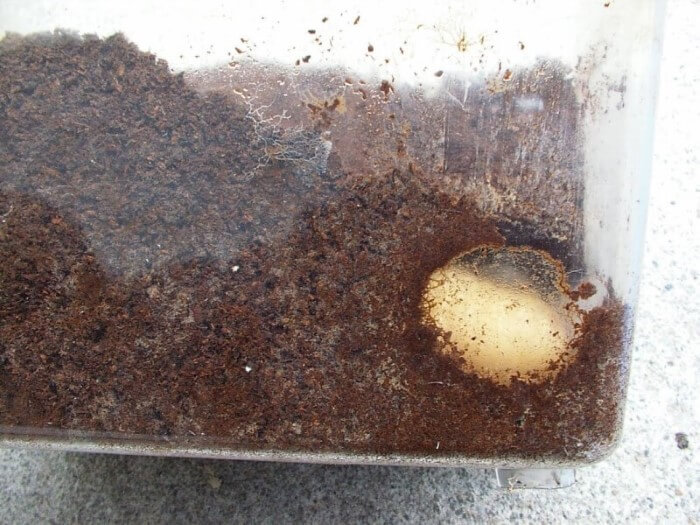
Examples of a good pupal chamber:

Bottom view of the container

Side view of the container
As you can see, the pupal chamber is diagonal when looking from the bottom and it cannot be seen when looking from the sides.
Hercules larvae may not create pupal chambers at the bottom if there's more than enough depth so the key point to take away from this is the view from the sides of the container. As long as you DON'T see the pupal chamber on the sides, you can leave them as they are.
Here are examples of a bad pupal chamber:

Bottom view of the container

Side view of the container
Real examples of a bad pupal chamber:


In these pictures the pupal chamber is close to the sides of the container. If you can see the pupal chamber on the sides there's a high chance that their horns will be bent, so it is better to move them to an artificial pupal chamber.
So how do you make an artificial pupal chamber?
Here is a video by a Taiwanese beetle breeder that explains it well:
But just remember, a bad artificial pupal chamber is no better than a bad natural chamber. So if you are still struggling to understand on making an artificial pupal chamber, please do your research! There are tons of information online on how to create them.
Breeding notes:
- Optional: Bury 1-2 pieces of dog food or dried river shrimp in the substrate when the larva is in L3 stage to get a higher chance of producing big-sized males. Take out any uneaten protein within a week to prevent mites or mold growth.
- Secrets to producing major males is pedigree. If the size of the male parent is big there is a high chance that your males will turn out big. Luckily, the Hercules larvae that we sell are offspring from big males(150-155mm+). Food is obviously an important factor but not as important as pedigree.
- When changing the substrate leave at least 20-30% of the old substrate and add the new substrate on top. This is to prevent sudden changes to the environment, which may shock the larva.
- When changing substrate in the late L3 stage, tightly press the bottom of the substrate to prevent the pupal chamber from collapsing.